Dive into the creative side of White Balance (WB) photography. Learn to play with sliders and Kelvin settings, freeing yourself from the idea of a ‘correct’ white balance. Whether you like warm or cool tones, these tips inspire creativity, urging photographers to challenge norms and follow their artistic vision. Explore the easy and versatile ways to handle WB for a more personalized photographic experience.
In photography, we often talk about aperture, shutter speed, and ISO because it’s not possible to use identical camera settings for every photograph. At times, we understand that specific parameters are most effective for a particular type of photography. However, these suggestions are merely guidelines, not absolute truths. We always need to adjust the camera settings based on the actual conditions, try different things, and adapt as we go. And even though many have heard about aperture, only a few photographers truly understand what the iris diaphragm is and how it affects their photos.
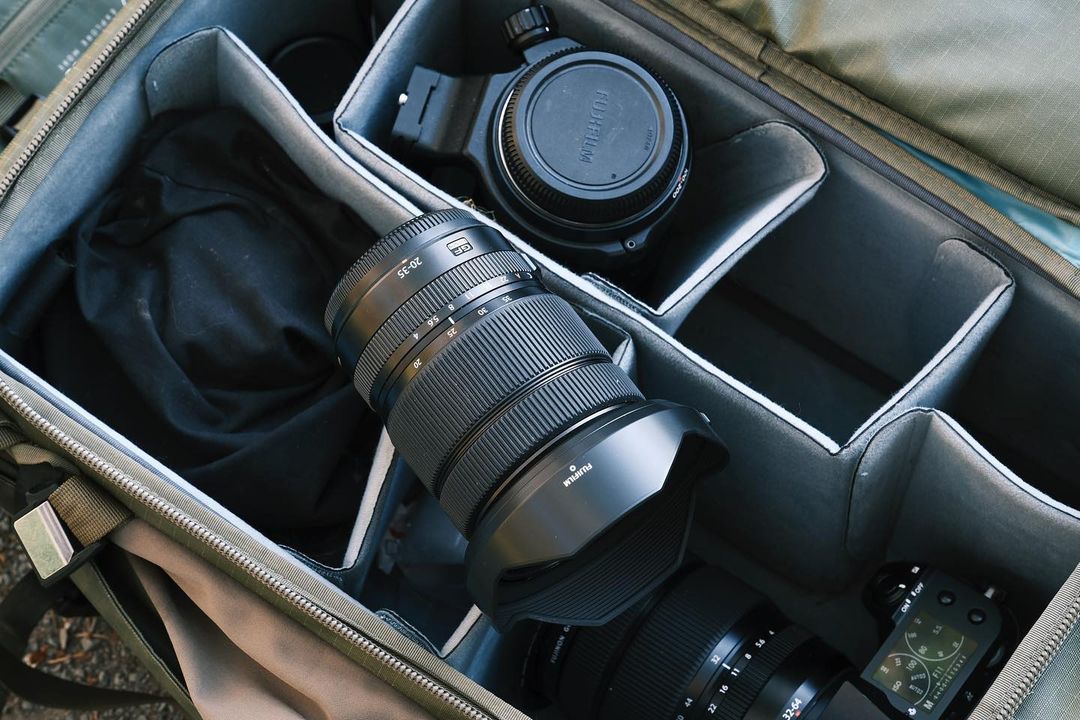
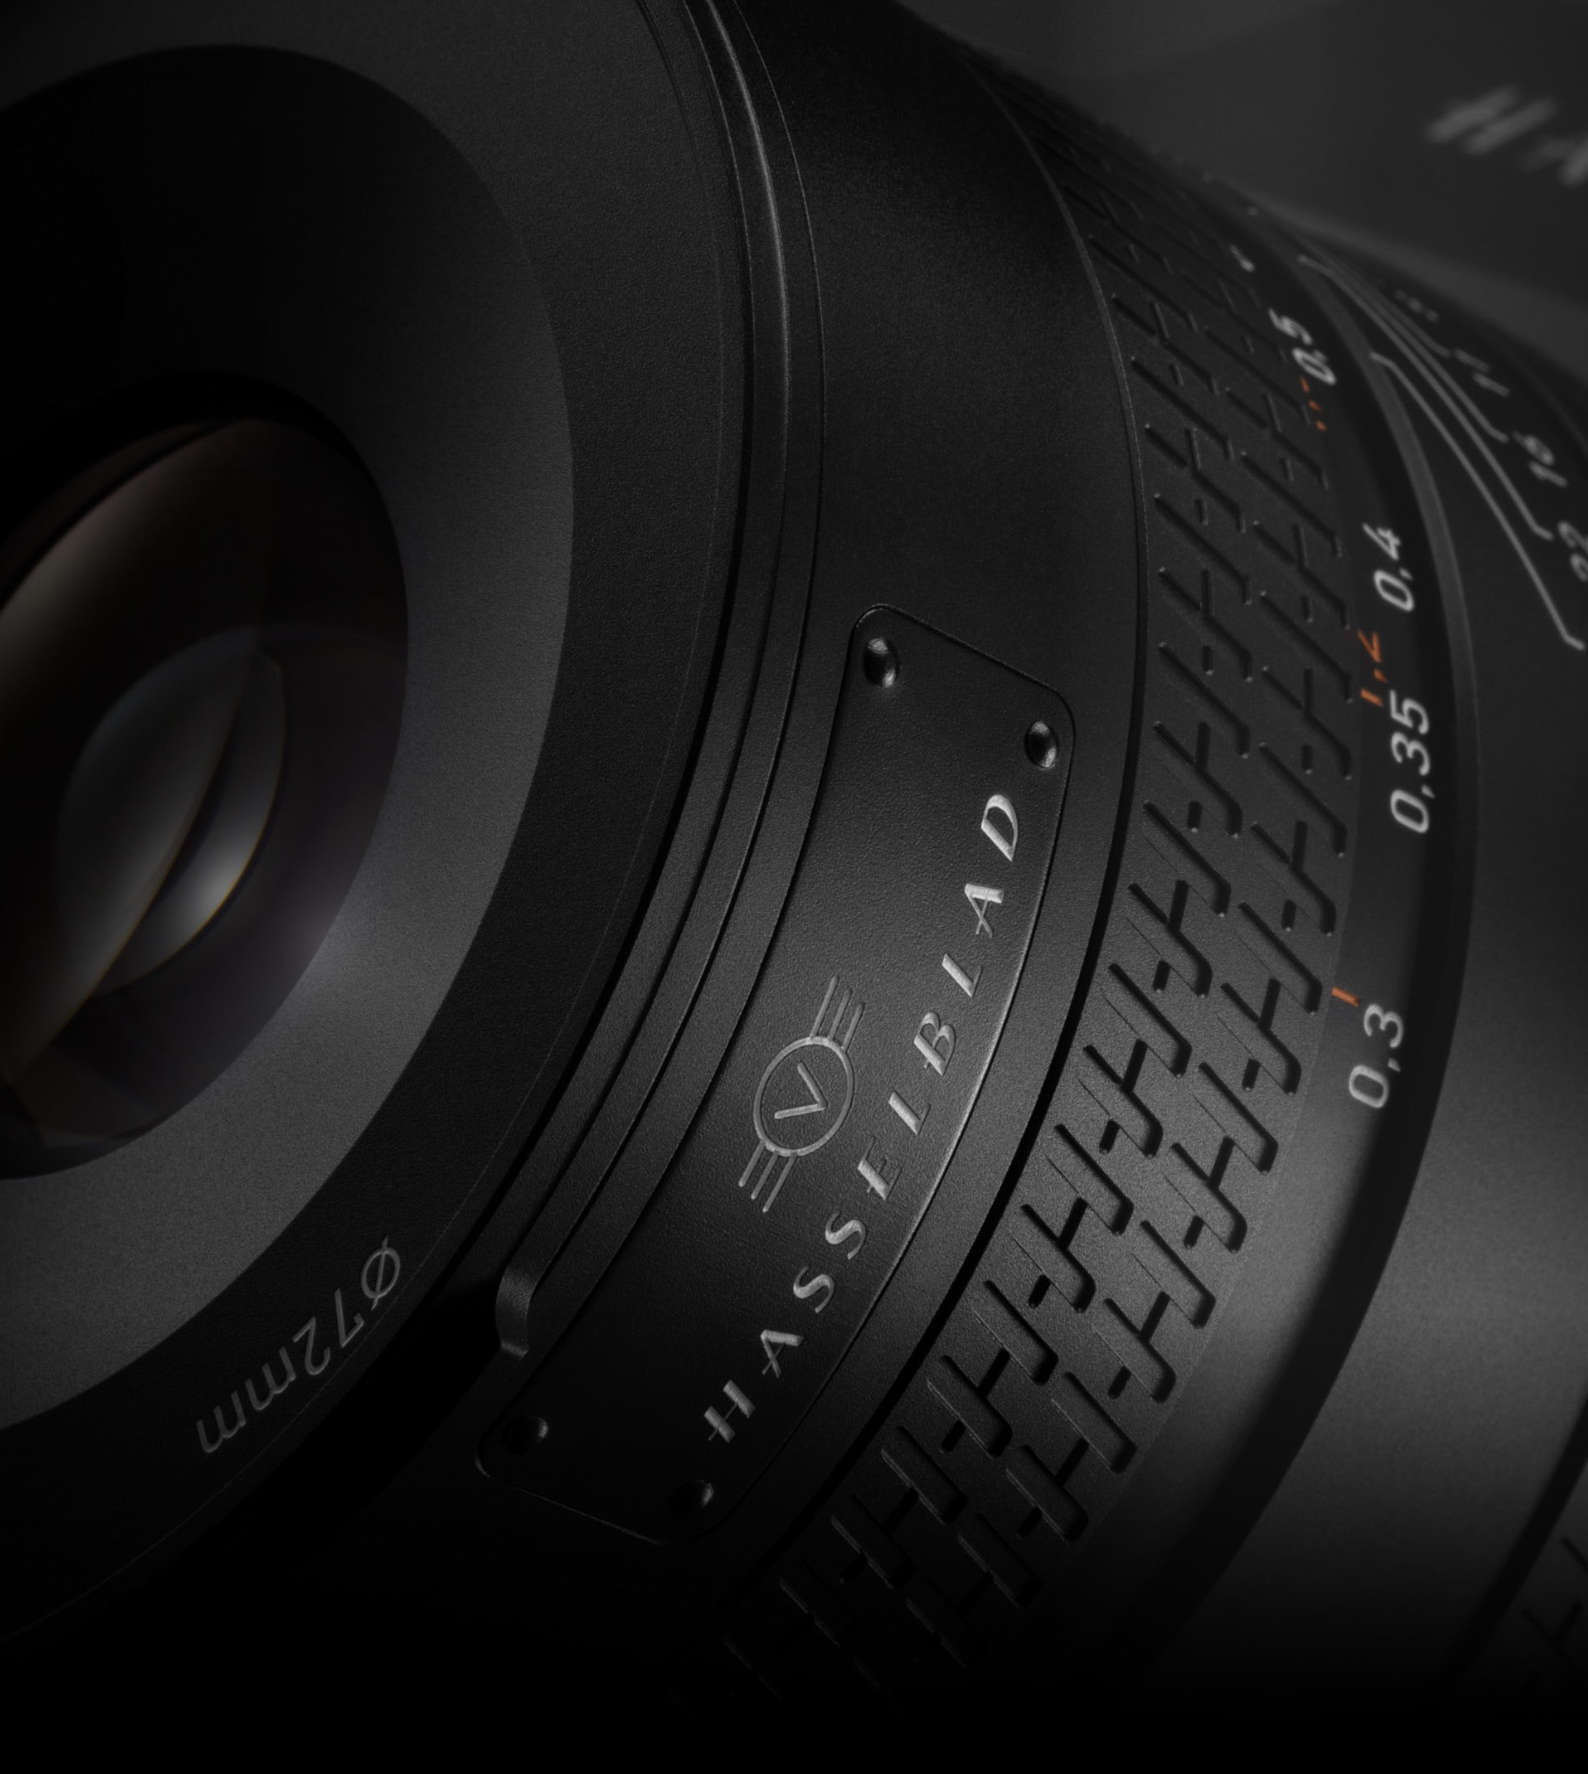
What is the diaphragm?
The iris diaphragm is a component in optical devices, such as cameras and microscopes, that regulates the amount of light entering the device. Composed of overlapping blades, the iris diaphragm has a central hole and the capability to adjust the diameter of the opening. It resembles the human eye, where the iris acts as the diaphragm and the pupil serves as the opening. The opening in the diaphragm is known as the aperture. However, as we’ll explore, it’s not the same aperture we mention in photography.
Where is the iris diaphragm on a camera?
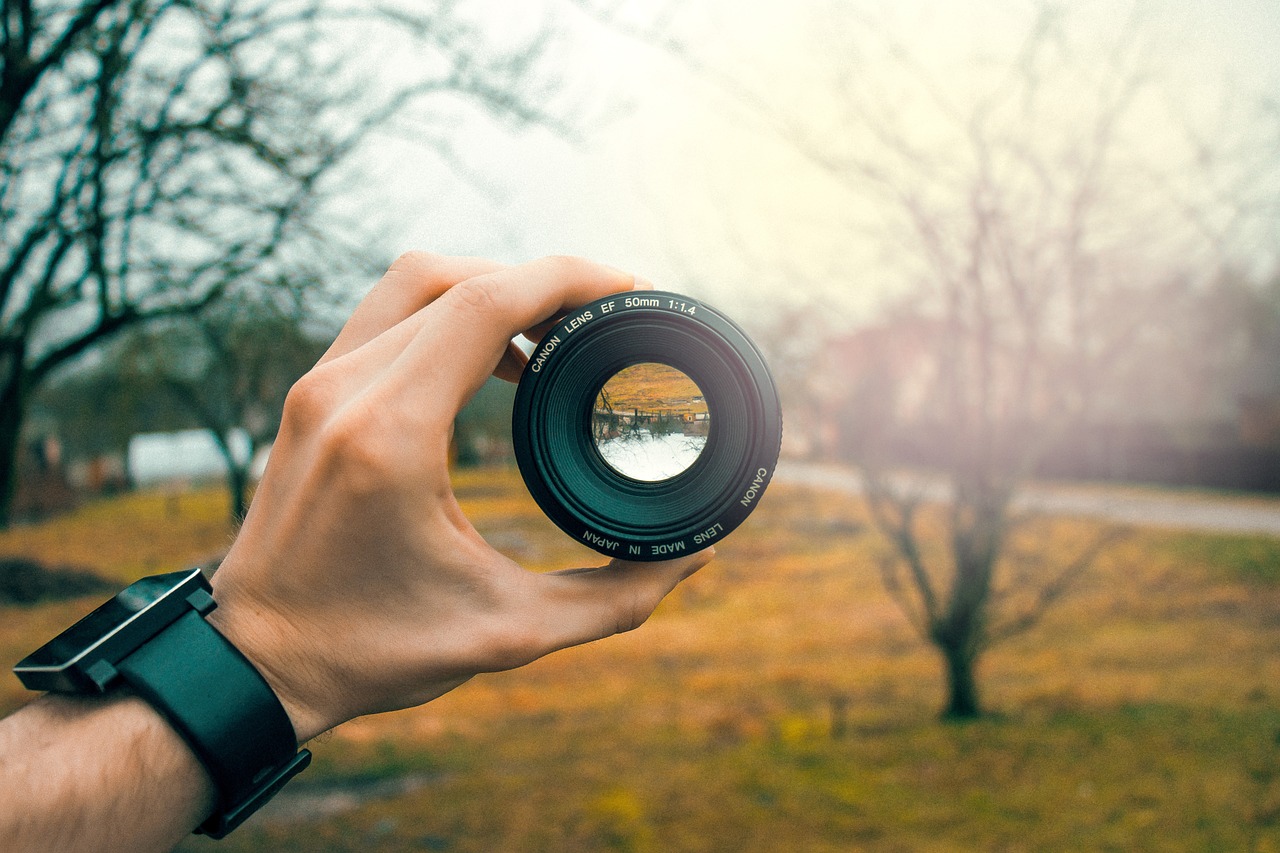
The iris diaphragm on a camera is typically located within the lens, situated behind the front element. As a result, it is considered a component of the lens rather than the camera body, even though adjustments are made from the camera.
The diameter of the opening is manipulated by controlling the overlap of the diaphragm’s blades. Consequently, the aperture of an iris diaphragm is inherently not perfectly circular, despite manufacturers striving to achieve a circular shape.
Why is the iris diaphragm important?
First, the iris diaphragm holds a pivotal role in photography by regulating the amount of light entering the camera that is essential for creating a well-exposed photo. Through the manipulation of the opening size, this component allows for the control of light reaching the sensor, enabling the creation of images with diverse levels of brightness. The versatility of the iris diaphragm, especially when utilising a wide aperture, proves advantageous in low-light situations. This feature eliminates the necessity for substantial adjustments to shutter speed or ISO values, thereby preventing issues like camera shake blur and undesirable ISO noise in the final image.
Beyond light control, the iris diaphragm influences the depth of field in a photograph. By adjusting the size of the aperture, photographers can determine how much of the image is in focus, allowing for creative expression and artistic vision. A larger aperture results in a shallower depth of field creating a blurred background and emphasising a small focal area, while a smaller aperture increases the depth of field, keeping a larger portion of the frame in sharp focus.
The depth of field is affected not only by the focal length of the lens and the distance between the camera and the subject but also significantly by the construction of the iris diaphragm when aiming for a shallow depth of field and a bokeh effect.
The iris diaphragm also plays a role in affecting the brightness observed through the optical viewfinder, the occurrence of vignetting or chromatic aberration, as well as influencing the sharpness, contrast, and color saturation of the image.
What occurs when you adjust the iris diaphragm?
When you modify the aperture of a lens, you activate a mechanism that adjusts the iris diaphragm blades, causing the opening to either widen or narrow. This action determines the amount of light entering the camera, affecting the brightness of the resulting image on the sensor. Essentially, a larger aperture allows more light, resulting in a brighter image, while a smaller aperture restricts light, leading to a darker photograph.
The adjustment of the aperture is limited to specific predefined steps. It is not possible to completely close the iris diaphragm, as this would block all light from reaching the sensor, rendering the camera unable to capture a photo. Similarly, the iris diaphragm blades cannot be opened beyond the physical constraints determined by their construction.
Nevertheless, what we refer to as aperture in photography differs from the aperture of the iris diaphragm. Although these concepts are interrelated, they denote distinct elements and employ different measurement units. The lens’ aperture signifies the amount of light passing through the lens at a specific focal length, measured in f-stops or f-numbers. On the other hand, the aperture of the iris diaphragm refers to the physical opening in the diaphragm, often termed the effective aperture, with its diameter measured in millimetres.
How does the f-stops works?
F-stops, also known as f-numbers or aperture values, are a standardised system used to measure and express the size of the aperture in a camera lens. For most lenses, f-stops range between f/1.4 and f/22. To regulate the amount of light entering the lens by manipulating the iris diaphragm, you must make adjustments to the lens’ aperture.
The connection between the f-stop and the aperture of the iris diaphragm is characterised by an inverse proportionality.
To widen the iris diaphragm, select a smaller f-stop number. Conversely, if you aim to narrow the iris diaphragm, opt for a larger f-stop number.
For instance, with a 90mm lens at f/1.4, the aperture’s diameter is 64.3mm. At f/2, the aperture’s diameter is 45mm, and at f/22, the aperture’s diameter reduces to 4.1mm.
And what about the f-stop scale?
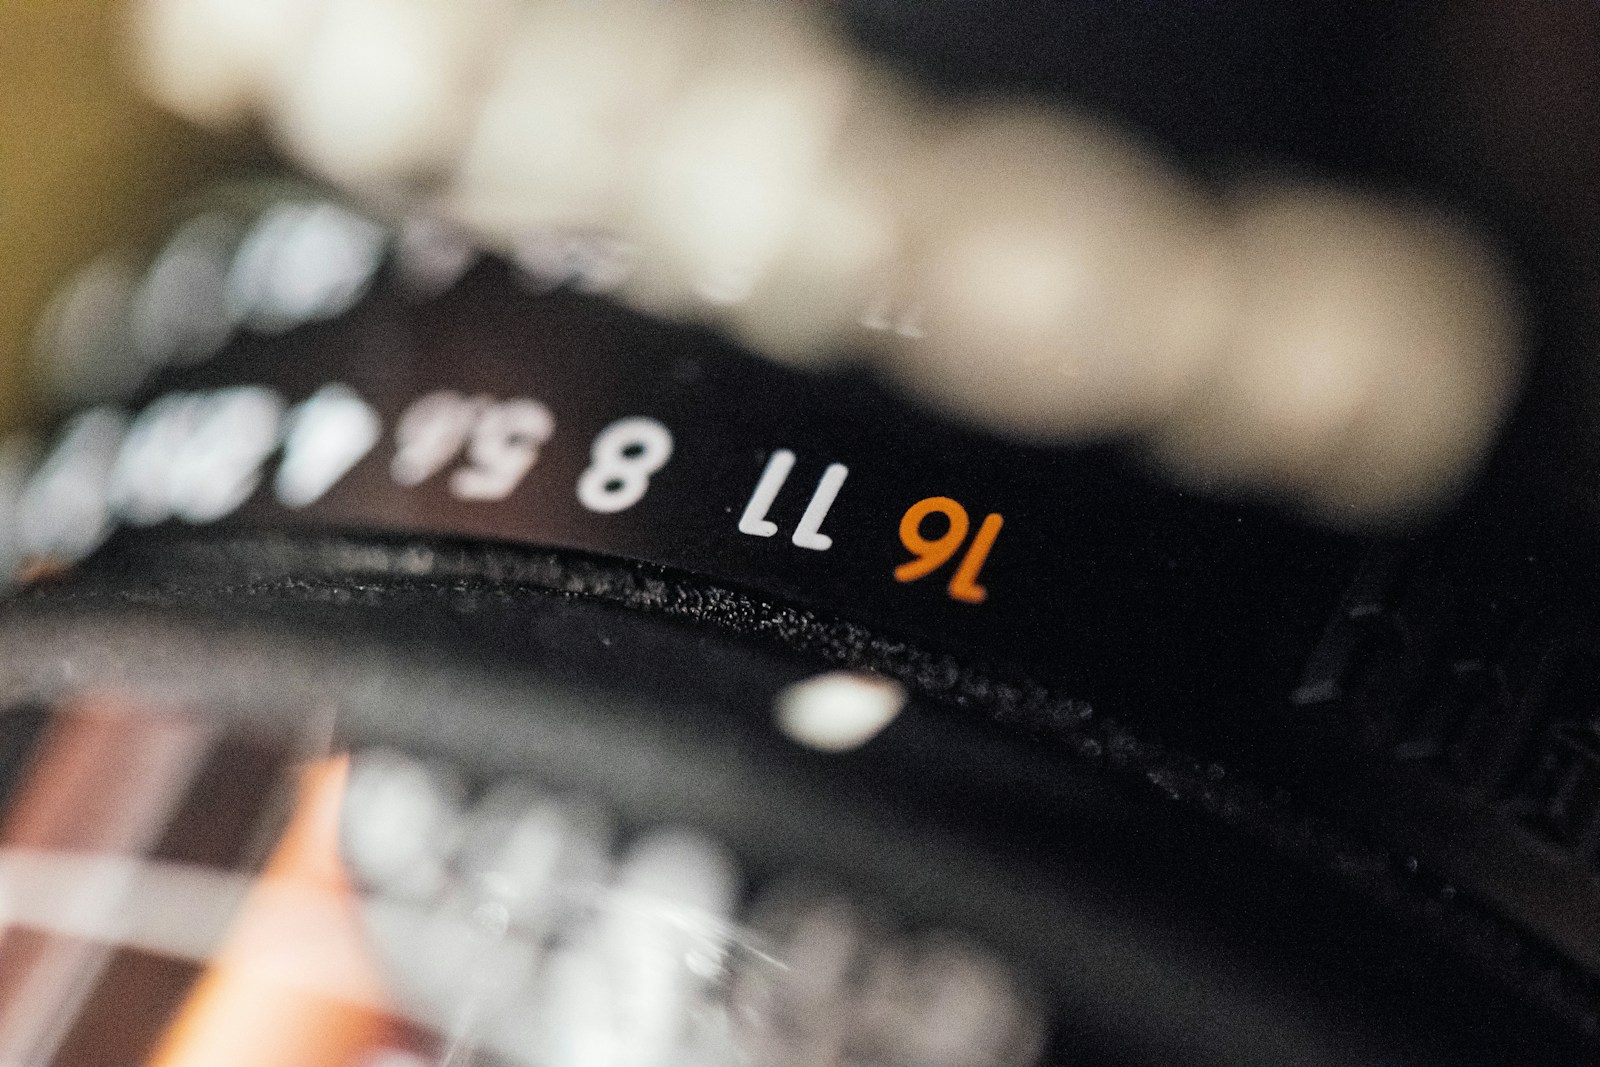
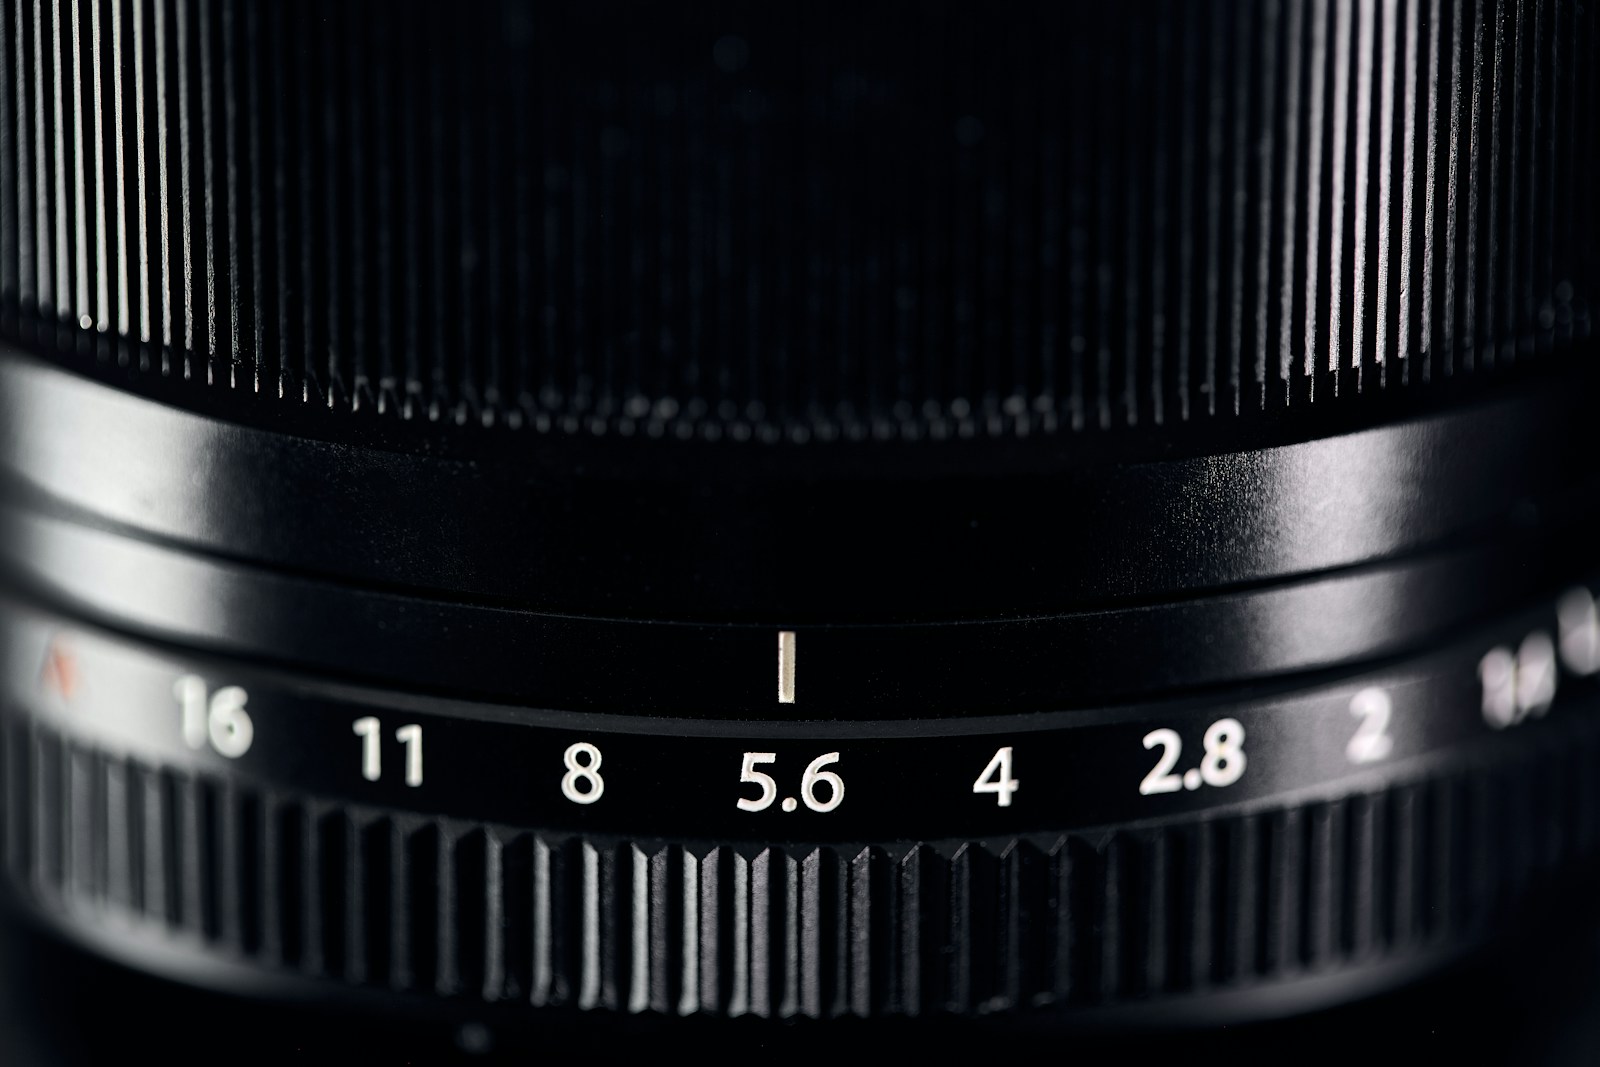
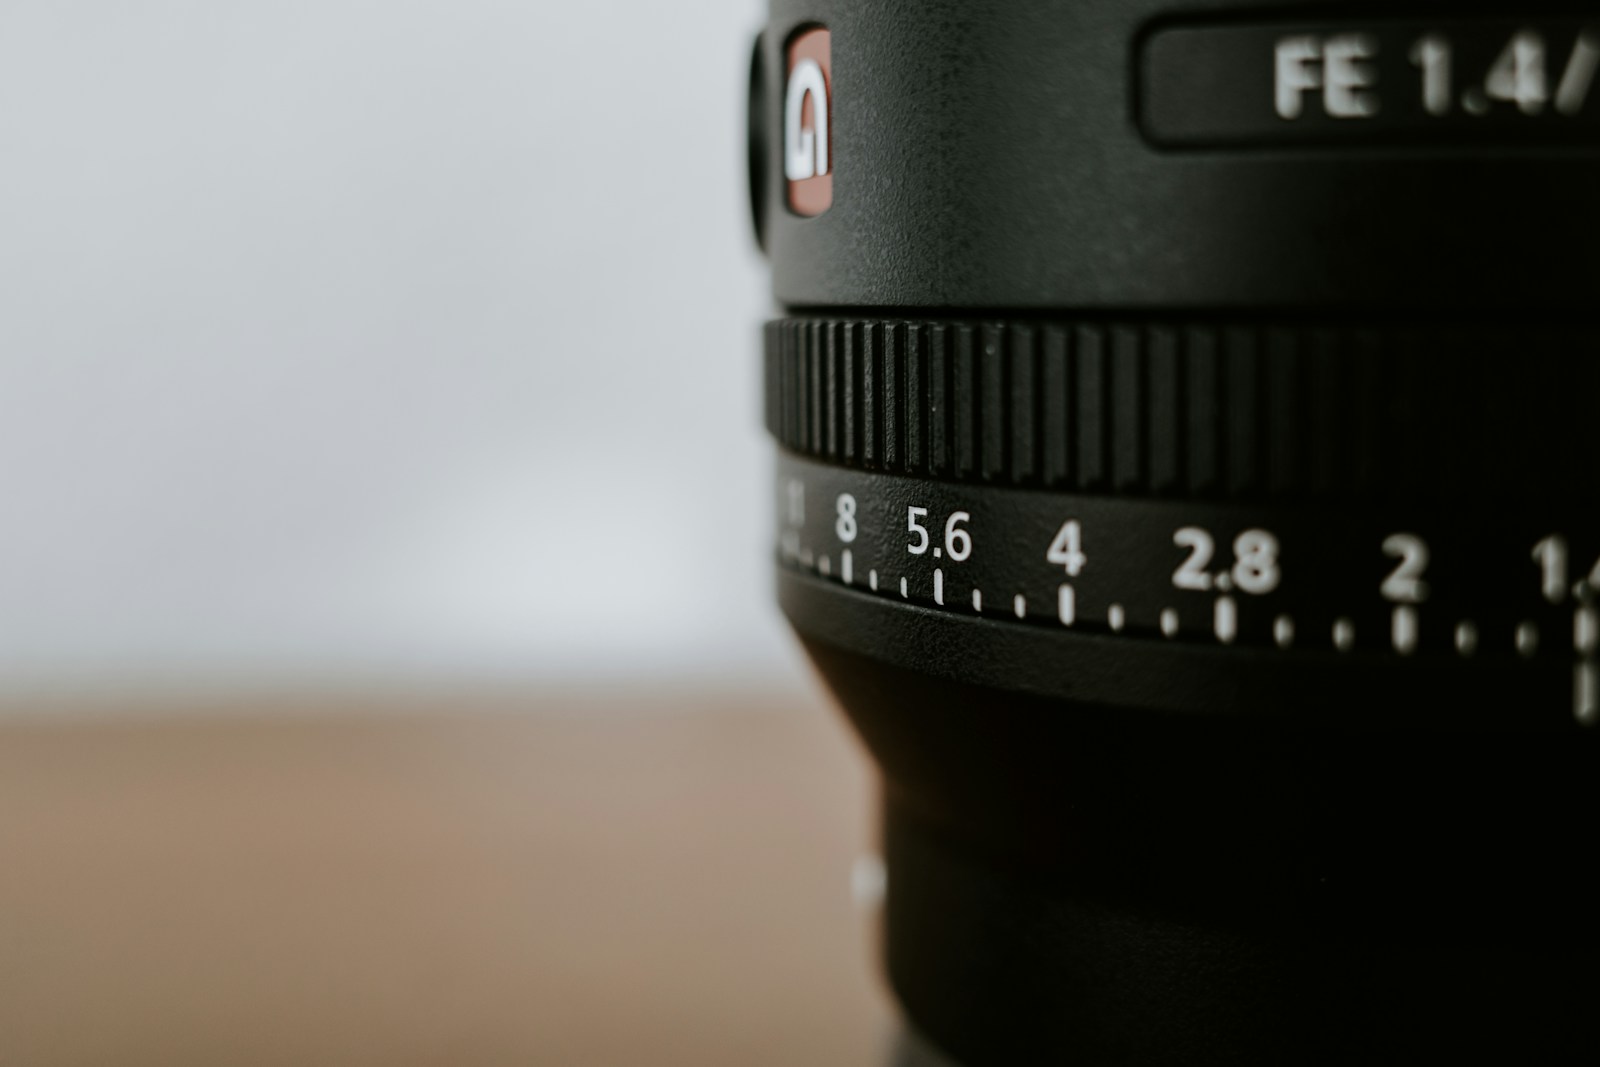
However, there’s no need to calculate the diameter or surface of the iris diaphragm’s aperture to determine the amount of light passing through the lens. To simplify this process, lens manufacturers employ an f-stop scale that reduces the amount of light by half at each step. Using the mathematical properties of the square root of 2, this f-stop scale is represented as follows: f/1.4, f/2, f/2.8, f/4, f/5.6, f/8, f/11, f/16, f/22. Progressing from f/1.4 to f/22, each step results in halving the amount of light entering the lens.
The f-stop scale is typically engraved on the lens, especially on older models, with a small dot indicating the current selection. The maximum aperture of a lens is often specified in the lens’s name, as seen in examples like “FUJINON GF80mm F1.7 R WR”.
Hence, the fundamental principle when working with f-stops is to understand that a full stop entails either doubling or halving the amount of light entering the lens. This concept aligns with shutter speeds, where each step involves a doubling or halving (e.g., 1/125, 1/250, 1/500, etc.). A shutter speed that is twice as fast reduces the light by half, while a speed that is twice as slow doubles it. Consequently, if the intention is to increase the shutter speed by a certain number of steps while maintaining the exposure, a wider aperture must be set using the same number of steps.
What is “Bokeh”?
Bokeh refers to the aesthetic quality of the out-of-focus areas in a photograph, particularly the way the blurred points of light appear. It is characterized by a pleasing and often soft rendering of these out-of-focus highlights, which can take on a smooth and sometimes circular shape. Bokeh is popularly associated with creating a visually appealing background blur that enhances the main subject in the foreground. Achieving a desirable bokeh effect is often related to a shallow depth of field, small light sources or highlights in the out-of-focus area, and a high-quality iris diaphragm.
The bokeh effect relies on an optical phenomenon known as the circle of confusion. In essence, the circle of confusion indicates that points of light in blurred regions take on the shape of the iris diaphragm’s aperture. Consequently, rather than appearing as standard points, they may adopt shapes like heptagons or other polygonal forms. However, the most popular and appreciated bokeh effect has circular shapes.
Lens manufacturers strive to achieve circular apertures by incorporating iris diaphragm blades with curved edges. However, even with curved blades, the circular bokeh effect is most prominent at wider apertures.
To ensure a consistently smooth circular bokeh, even at narrower apertures, one effective approach is to increase the number of blades, such as having 11, 12, or 15 blades.
To optimize the setup for a beautiful bokeh effect, it’s ideal to use a high-quality telephoto lens with numerous iris diaphragm blades and a wide maximum aperture. Additionally, the background scenery should include points of light situated far behind the focal plane. This combination contributes to achieving a visually pleasing and smooth bokeh effect in the captured images.


What can we conclude?
The iris diaphragm plays a crucial role in a lens, impacting exposure, composition, and overall photo quality. Serving as the mechanism governing the lens’ aperture and f-stops, it influences aspects like photo brightness, depth of field, and the bokeh effect. Understanding the workings of the iris diaphragm empowers you to make informed choices when selecting a lens, use the aperture both technically and creatively, and create high-quality, distinctive photographs.
Learn and understand the optics, mechanics, and math of a camera; it’s a dependable way to improve. This allows you to use your camera effectively without having to memorise all the settings and parameters.


