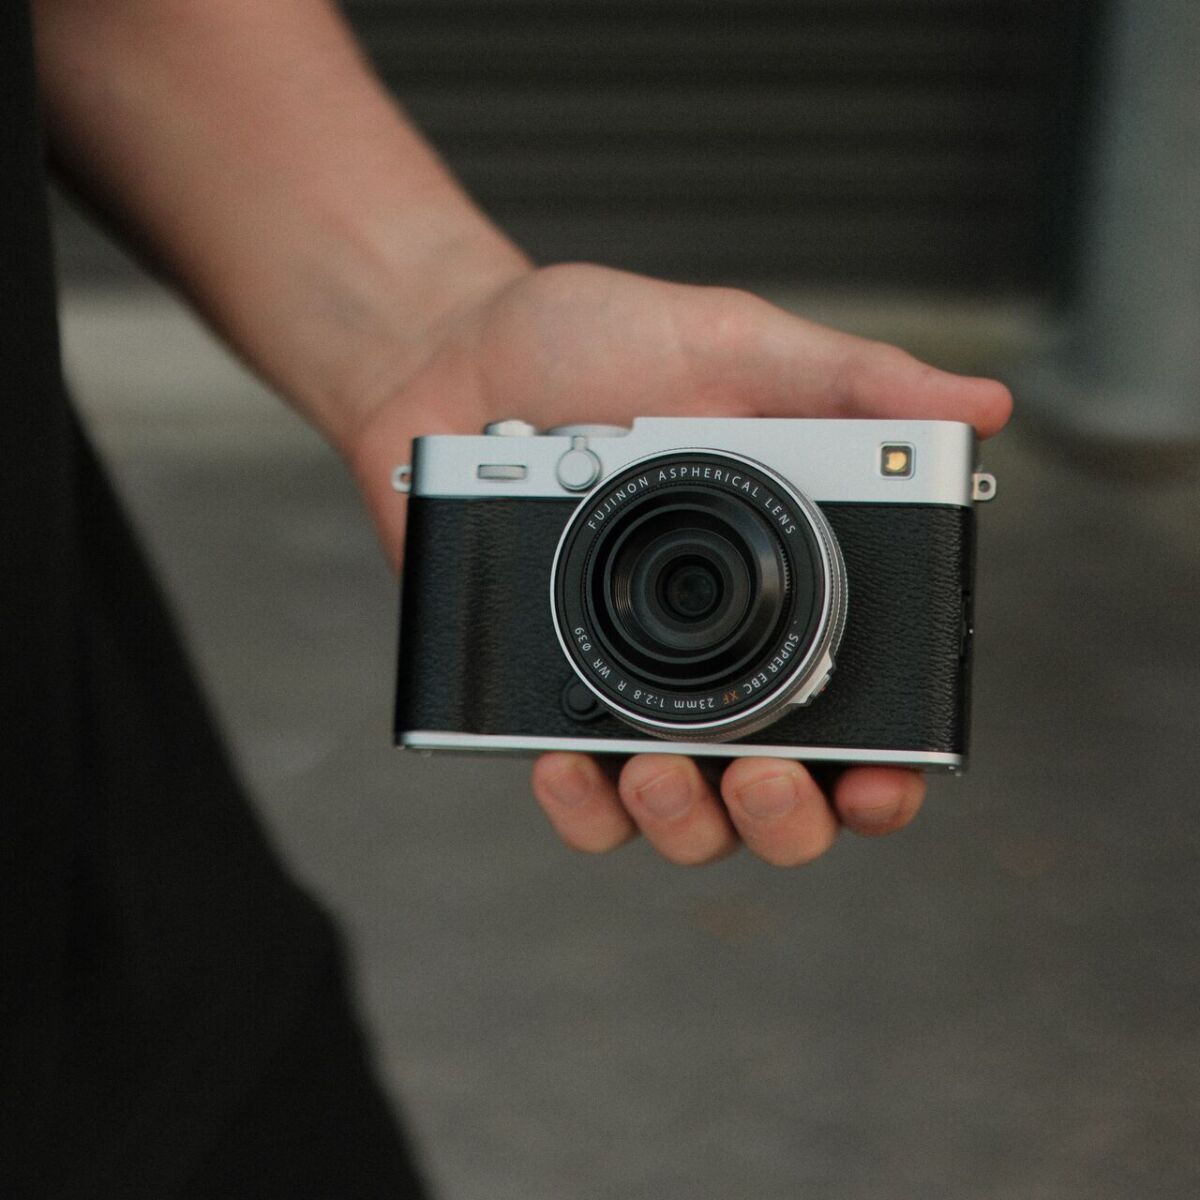
How to use spot metering in photography?

minutes to read Last edit on 28 February 2024

Although many experienced photographers use manual exposure, not all of them understands metering. Metering is the process by which a camera measures the amount of light in a scene to determine the optimal exposure settings. It evaluates the brightness of the subject and surroundings, helping the photographer decide on the appropriate combination of shutter speed, aperture, and ISO sensitivity for a well-exposed image. Understanding metering is essential for achieving accurate and well-balanced exposures in various lighting conditions.

How do I use spot metering in photography?

What is spot metering?

Spot metering is a camera metering mode that measures the light intensity in a specific spot or area of the frame, typically a small percentage of the total image area. Unlike other metering modes like evaluative or matrix metering, which consider the overall scene, spot metering allows photographers to pinpoint a specific area for exposure measurement. This provides precise control over exposure, making it particularly useful in situations with challenging lighting conditions or when a specific subject requires accurate exposure, regardless of the surrounding elements.

In the default spot metering configuration, most cameras read the light from the center, often a small circle (1-5% of the frame). Some cameras display a visible circle at the center; others use the central focusing point. This tiny point alone is the only part of the entire image being metered. Consequently, extreme brightness or darkness in other areas can lead to overexposure of highlights or loss of detail in shadows.

Why you should use spot metering?

Spot metering provides precise control over exposure by measuring light in a specific area, allowing photographers to tailor settings to a particular subject or scene. This is especially useful in challenging lighting conditions or when the subject differs significantly from the background. With spot metering, you can ensure accurate exposure for the specific part of the frame you choose, preventing overexposed highlights or underexposed shadows. It’s a valuable tool for photographers who seek fine-tuned control over their exposure settings and want to prioritize a specific element in the composition.

Here are a few examples of where spot metering can be very useful :

  • A bride’s white dress in a dimly lit church, particularly under a spotlight
  • Performers, such as musicians or actors, illuminated by a spotlight in a dimly lit theater or concert hall
  • Portrait of a darker-skinned subject, photographed against a sky or snow background


How to use spot metering in photography

How do I use spot metering?

Here’s a simple guide to using spot metering with most digital cameras: locate the center point in your viewfinder and point it directly at your subject. In manual exposure mode, adjust your camera settings until the center point reads “0” or neutral. You can then recompose your photo if you prefer your subject not to be in the center of the frame.

However, if your subject has extreme skin tones and neutral exposure isn’t ideal, you can adjust it by spot-metering at +1 or -1. This technique is handy for photographing portraits of a variety of subjects with different skin tones.

How should you use spot metering in bright light?

In bright light, using spot metering effectively involves pinpointing the specific area you want to expose correctly. Identify your subject, place the spot meter on it, and adjust your camera settings to achieve a neutral reading on the meter. This ensures that your main subject is well-exposed, even in challenging lighting conditions. Experiment with exposure compensation if needed, and be mindful of potential highlights or shadows that might impact the overall balance.

How to achieve perfect exposure with spot metering?

Achieving consistent and accurate exposures using spot metering may take some practice, but it’s achievable. Develop the habit of spot metering directly on your subject and adjusting the exposure until the meter reads “0” or neutral. For lighter subjects, consider slightly brighter exposures, and for darker tones, aim for a reading slightly under “0.

Spot metering is ideal for portrait, weddings and events, wildlife and even landscape photography.

What type of photography is the best for spot metering?

In different photographic genres, whether portraits, weddings, events, wildlife or landscapes, you’ll gradually memorize the ideal spot metering values for common subjects. This includes knowing whether to meter at “0”, +1, -1, etc., and understanding spot size for accurate measurement of subjects at different distances. Combined with a camera featuring an electronic viewfinder (EVF) for exposure confirmation, obtaining optimal images in-camera is seamless. What’s more, rapid spot metering of highlights and shadows provides reassurance and anticipation of difficult lighting conditions.

For landscape photographers, mastering this technique becomes second nature. After setting your exposure based on the subject, spot meter the brightest highlight and darkest shadow in the scene. If, for instance, highlights register at +3 EV and shadows at -2 EV, totaling 5 EVs, modern cameras handle it well. But if the brightest highlight exceeds the scale, like +8 EV, strategic underexposure (e.g., 3-4 EVs) of the main subject allows recovery in post-production, provided the shadows aren’t too dark. This technique ensures control over dynamic range and addresses blown-out backgrounds in various scenarios.

How to use spot metering in photography?

Exposure

We’ve explained how to incorporate spot metering into manual exposure. This means you retain full control over exposure, referring to the exposure meter if necessary to adjust shutter speed or aperture. If you switch your camera to Aperture Priority or Auto ISO mode, be careful. In these modes, the camera constantly adjusts exposure according to the exact exposure meter reading. If you don’t measure your subject accurately when you press the shutter, you risk compromising exposure.

Spot metering using Focus Point and AE-L (Exposure Lock)

Some cameras allow you to connect the spot meter to the focus area. In this case, precise alignment of the focus area with the subject ensures correct exposure. Another solution is to use a button dedicated to automatic exposure lock (AE-L). This function temporarily locks the exposure, offering a degree of flexibility in the composition of the image frame.

Utilizing spot metering in aperture priority mode becomes valuable in scenarios with highly dynamic lighting, where the illumination on the subject undergoes rapid fluctuations exceeding 2-3 stops within seconds. In such situations, manually adjusting camera settings might be impractical, making spot metering an advanced and efficient technique for maintaining accurate subject exposure.

Spot metering using Focus Point and AE-L is a very rare situation and you may never use it. Nevertheless, it's worth a try, if only for practice.

What can we conclude?

Spot metering may seem intimidating at first, but it’s a simple process once you understand the basics. With this knowledge, you can fine-tune your exposures, eliminating the uncertainty associated with different-toned subjects and distinct backgrounds. You’ll gain confidence in predicting the exact tonal appearance of your subjects.

More article that may interest you

nd-filters-photography

What is neutral density filter (ND)? And how do I use it?

Neutral Density (ND) filters play a crucial role in photography by reducing the amount of light entering the lens without affecting colors. Measured in stops, these filters enable various creative effects. They are often used for prolonged exposures, creating unique textures in clouds or smooth water surfaces. ND filters also assist in achieving a shallow depth of field, blurring moving elements, and protecting against excessive light during solar photography. Explore more about ND filters and understand variations like GND, RGND, VND, and CGND to enhance your creative toolkit.

tilt shift lens for camera

What are the different types of photo lenses?

There is a wide choice of lens types. From standard lenses to macro lenses, tilt-shift lenses and teleconverters, the choice is vast, and each lens is adapted to a specific type of photography. Find out more about all types of photo lenses.

what is a polarizer filter?

What is a polarizer lens filter?

Learn more about the polarizer lens filter top to optimize natural light in your shots. This filter, attached to the front of your camera lens, effectively reduces glare and reflections from non-metallic surfaces, selectively blocking polarized light waves. Whether you’re a landscape, nature, street, or architecture photographer, a polarizer filter proves invaluable in various scenarios.

Subscribe to our newsletter and get -15€ off
Sign up now
50.8 Shop • All rights reserved, 2024 • Made with 🍟 in Belgium
Terms & Privacy Policy Cookie preferences